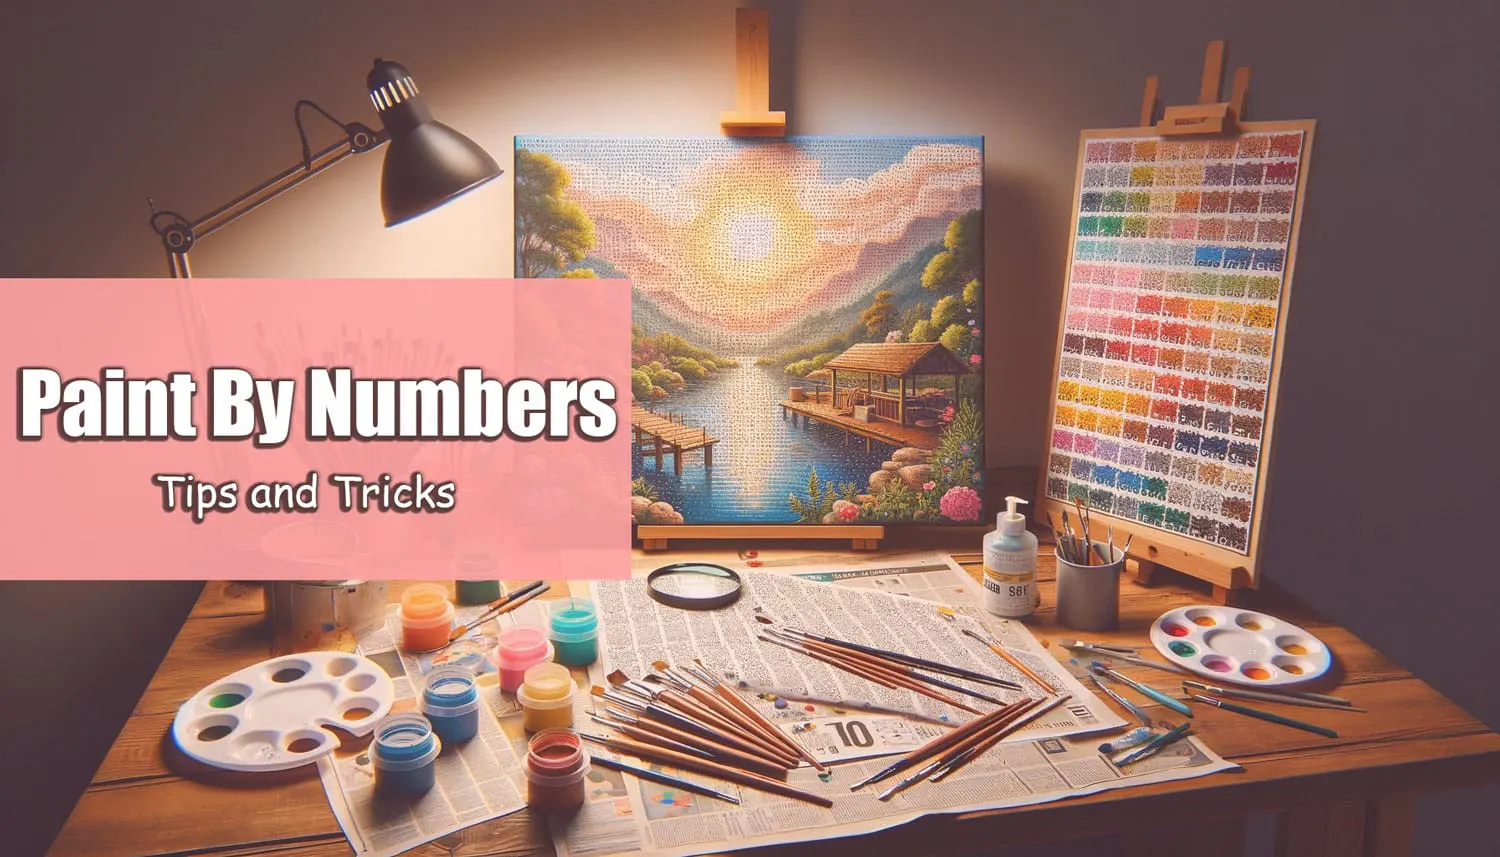
Paint by numbers has become a phenomenal hobby, exploding in popularity among adults and children alike. There is immense satisfaction in watching a blank canvas slowly transform into a beautiful, detailed work of art by your own hand. However, like any skill, the journey can feel frustrating if you lack the proper supplies or techniques.

I love turning blank canvases into something vibrant. Over nine years of working with paint-by-numbers, I’ve picked up a fair amount about technique, workflow, and what actually makes a piece come together. I’m sharing the 21 tips that proved most valuable along the way, organized into clear sections so they’re easier to absorb.
This guide moves past basic instructions to provide 21 expert-level paint by numbers tips and hacks that will help you elevate your finished product, enhance your artistic workflow, and ultimately make the experience more relaxing and rewarding.
Foundational Preparation: Setting Up For Success
The final quality of your painting is often determined before you even dip your brush into the paint pot. Prioritizing your setup is a critical step that many beginners overlook.
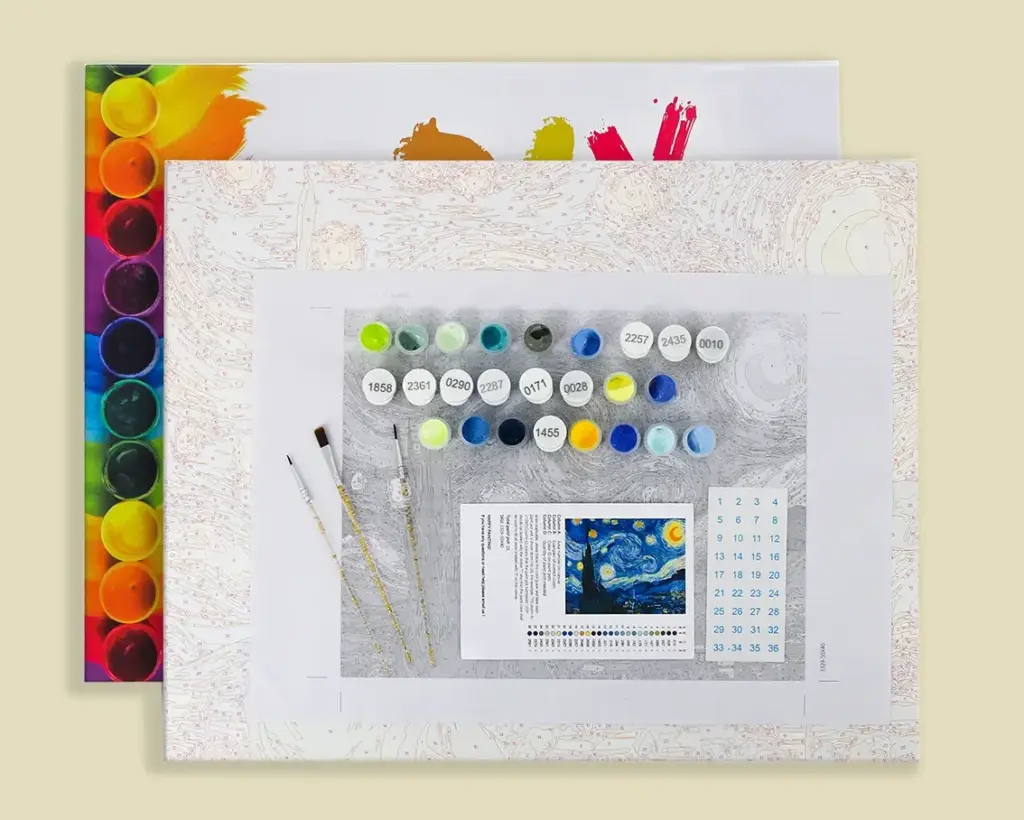
Choosing the Right Kit and Canvas
1. Invest in a Quality Canvas
Not all canvases are created equal. Cheap-quality canvases often feature low-resolution designs and thin material, resulting in paint bleed and inadequate opacity. For the best results and longevity, opt for a thick, high-quality canvas (often made from linen) with a crisp, clearly printed design. This will make the entire process more forgiving and result in a sharper final image.
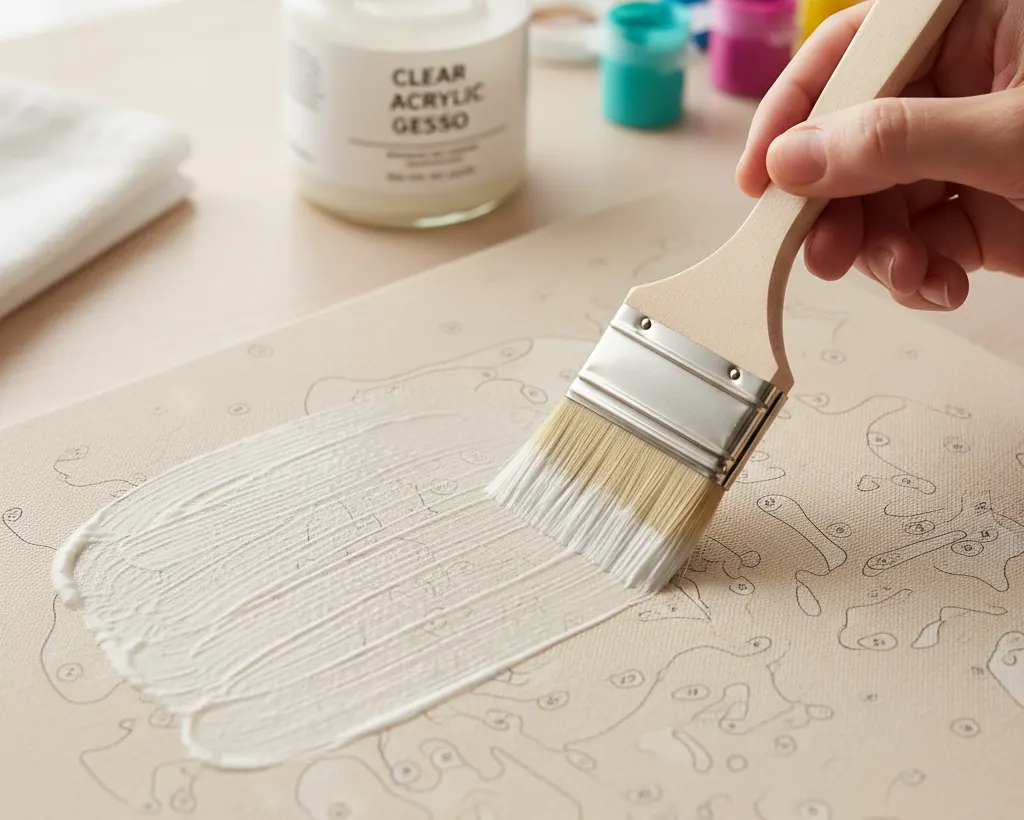
2. Prime Your Canvas with Gesso (The Pro Tip)
To truly achieve a professional finish, apply a thin coat of clear gesso to your numbered canvas before you start. Gesso adds a slight “tooth” or texture to the fabric, allowing the acrylic paint to adhere better, glide smoother, and achieve full opacity with fewer coats. This is the single most important trick for eliminating paint bleed and ensuring vibrant colors.
3. Secure Your Canvas with a Frame
We highly recommend acquiring a kit with a pre-stretched or DIY frame. Working on a taut, pre-framed canvas prevents creases, eliminates wrinkles, and provides a stable surface. You can easily work with the painting vertically, reducing the chance of leaning your hand on wet paint and causing smudges.
Establishing Your Artist’s Workspace
4. Optimize Lighting and Comfort
A well-lit area is non-negotiable for detail work. Ensure you have strong, non-shadowing illumination—ideally, natural light supplemented by an adjustable daylight lamp. For long sessions, a comfortable chair and table height are crucial. This is a marathon, not a sprint; poor ergonomics will lead to strain and rushing.
5. Prep and Protect Your Area
Protect your surface. Cover your table with a disposable covering like an old newspaper or plastic tablecloth to catch errant paint spills. Importantly, have two containers: one glass of water dedicated only for thoroughly rinsing brushes, and a second glass for dampening paints or a clean water-rinse.
Mastering Paint Application and Technique
Your technique determines the professionalism of the final artwork. These tips focus on strategic execution and handling the acrylic medium.
The Strategic Approach to Painting
6. The Color Strategy: Dark to Light (And Hiding Numbers)
The community debate often centers on whether to paint light-to-dark or dark-to-light.
- Recommendation: Start by establishing the darkest colors first. This is an effective technique because dark colors provide contrast, quickly define the structural outline of the image, and often cover the printed number better.
- The Caveat: When using light colors (like white, yellow, or pale blue), the printed number often shows through. To combat this, apply a layer of white paint or white gel pen to cover the number before applying the assigned light color. This will ensure your colors remain opaque and vibrant.
7. Build Opacity with Thin Layers
Resist the urge to apply a single, thick, gloopy layer of paint to cover the area faster. Multiple thin layers of paint are always superior. A thick application is more likely to bleed, crack when dry, and look less professional. Apply a thin layer, allow it to dry completely, and then apply a second layer for full, smooth coverage.
8. Control the Paint’s Consistency
Acrylic paint dries extremely fast and can become thick or “gummy” over time.
- The Fix: Before applying, you should ensure the paint has a creamy, heavy-cream-like consistency. If it feels dry, add one or two drops of clean water to the pot and stir. Do not add a large amount of water, as this will drastically dilute the pigment and reduce its coverage.
Refined Brushwork and Precision
9. Invest in Quality Brushes
While kits come with brushes, investing in a quality set with various sizes is a game-changer. Quality nylon brushes should have a sharp tip and good “spring.” Use a range of sizes: a fine detail brush (size 00 or 0) for intricate lines and faces, and a wider brush for larger background sections.
10. The Non-Negotiable: Keep Brushes Pristine
You must thoroughly clean your brush every time you switch colors. If you don’t, the previous color will transfer, resulting in murky or unintended blends. Use your dedicated rinse water, gently reshape the bristles, and then blot the brush on a clean cloth or paper towel before dipping into the next color.
11. Master the Art of Blending
For advanced realism, especially in areas like skies or skin tones, you need to blend. To create a smooth, seamless transition between two adjacent colors, do not wait for the first color to dry. While the paint is still wet, apply thin layers of one color, then the second, overlapping them back and forth with light strokes until the colors “melt” into each other for a natural gradient.
12. Use the Right Tool for Tiny Details
For minute sections and extremely fine lines, put the brush down. A toothpick dipped lightly in paint can provide unparalleled precision for creating tiny dots, painting catchlights in eyes, or filling in almost invisible sections that a regular brush cannot access without overspray.
Workflow, Troubleshooting, and Maintenance
13. Directional Painting: Avoid the Smudge
To prevent accidentally dragging your hand or sleeve across wet paint, always work top-to-bottom.
- Handedness Strategy: If you are right-handed, start at the top-left and work down. If you are left-handed, start at the top-right. This keeps your dominant hand over the dry areas of the canvas.
14. Paint by Color, not by Section
For maximum efficiency and focus, complete all sections assigned to one color across the entire canvas before moving on to the next color. This minimizes brush cleaning and ensures consistency in the application and consistency of that particular shade.
15. The Importance of Rest
Paint by numbers is a contemplative process. Avoid rushing. Take a 15-minute break every hour. This not only prevents fatigue and eye strain but also ensures you do not smudge wet areas and gives your paint layers adequate time to dry before you return to adjacent sections.
Troubleshooting and Longevity
16. Repairing Mistakes is Simple
Mistakes are inevitable, but acrylic paint is forgiving. Do not wipe wet paint. If you fill in the wrong color, simply wait for the mistake to dry completely. Once dry, apply the correct color over it. If the underlying color is still visible, let the correction dry and apply a third layer.
17. Close Your Paint Lids—Religiously
Because of the rapid drying nature of acrylic paint, you must close the paint pot lid immediately and tightly when you are finished with that color. Leaving pots open, even for a short break, will lead to the pigment drying out and becoming unusable.
18. Keep a Reference Photo
Take a clear picture of your canvas before you start. If you accidentally paint over a number in a tight area or forget which shade goes where, you can simply refer to the photo on your phone to double-check the code against the original design.
Equipment and Final Touches
Considering Equipment Upgrades
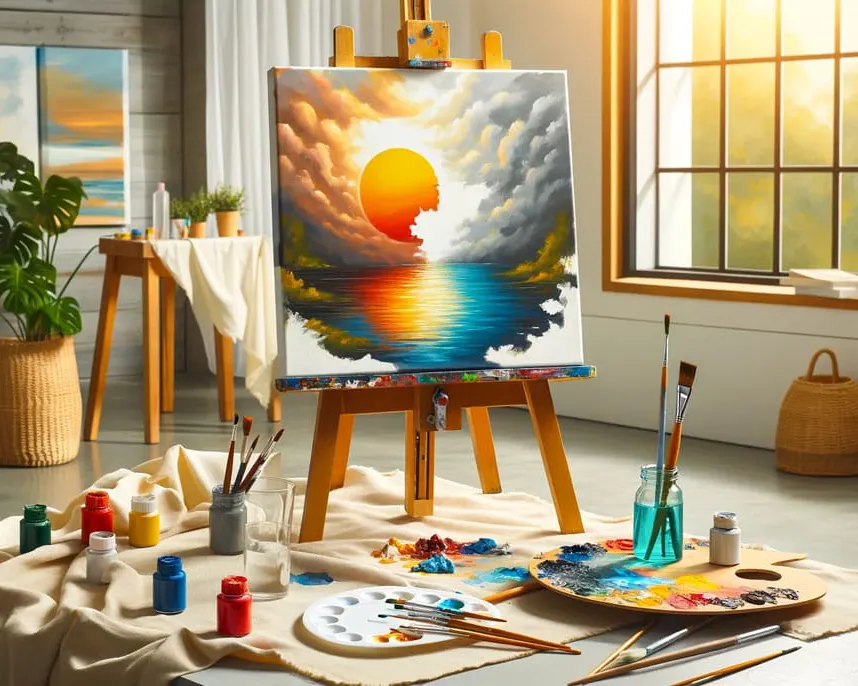
19. Upgrade to an Easel and Turntable
If this becomes a serious hobby, invest in an easel. It allows you to work comfortably and vertically, replicating the setup of a professional artist. A simple turntable (lazy Susan) is also invaluable, allowing you to easily rotate the canvas for better angles on tricky corners without touching the wet surface.
20. Preserve Your Brushes for the Long Term
After the final cleaning, use a small amount of soap or a makeup wipe to gently reshape the brush bristles back to a sharp point before storage. Storing brushes with splayed or dry paint on them is the quickest way to ruin your tools.
21. Add Your Signature and Personal Touch
Once complete, take the opportunity to enhance the image. You can slightly blend sharp borders between colors for a softer look or add a few of your own highlights and shadows. Finally, sign your name in the corner. You created this work; own it.
Conclusion
With the right setup, supplies, and structured techniques, painting by numbers can be an utterly enjoyable and deeply relaxing hobby for all skill levels. By rigorously applying these 21 tips—from the critical step of using gesso to the strategic choice of painting dark to light—you are no longer merely coloring within the lines, but mastering the medium.
Take your time, follow this guide methodically, and delight in the creative process. Your dedication to a structured approach will inevitably yield a vibrant, high-quality piece of art that you can proudly display. Now, go forth and let the artist within shine through!